Thursday, December 28, 2006

Update and booth window installation


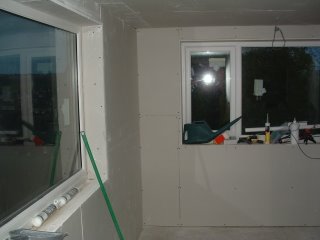
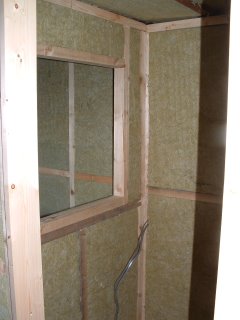
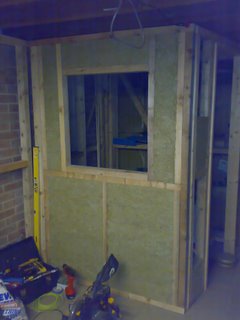
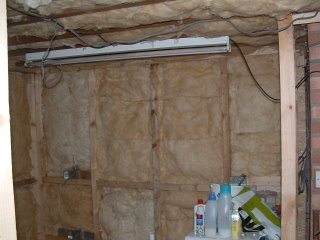
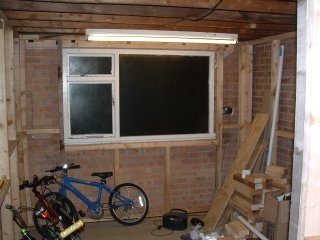
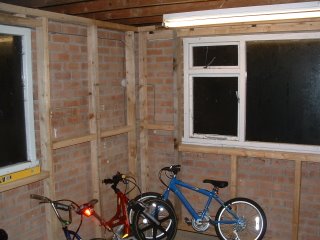
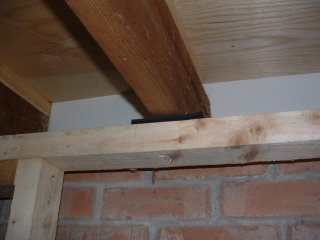
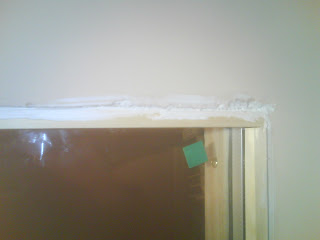
All of the skirting and architrave is now complete in both the main studio and the booth. Today, the angled, 750 x 750 sealed unit was installed in the booth (28mm deep). The angled pane was achieved by cutting down a 68mm piece of softwood from 50mm at one end down to 18mm at the other, thus forming two triangles which the pane could sit between. 5mm neoprene was also installed around the angled frame, both back and front to create mechanical separation between frame and pane. Prior to installing the architrave around the frame, all gaps were filled with decorator's caulk on both sides to reduce noise transmission as effectively as possible. (see picture).

Thursday, December 21, 2006

Update


A bit of an update on progress made .(apologies for poor picture quality as only had phone on me).


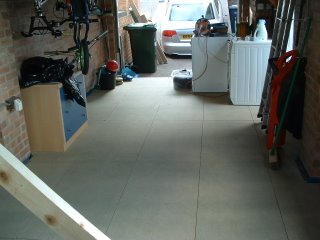
Both rooms are now painted and the laminate floor has been laid throughout. The Utility Room is complete and the new wine cooler fits just perfectly :)


The new fire doors arrived today too ready to be fitted on Saturday 30th December.


All that remains to be done in the studio before the fun wiring bits can commence (AV and mains) is for skirting and architraves to be fitted, window cills painted and the vocal booth window installed.

Monday, December 11, 2006

Photos


Here are a few images showing the new plaster in the studio and the new floor / paint etc. in the Utility. It is really difficult to get back far enough to show the Utility area, but that's not important any way - apart from the new wine cooler that is.

Utility update

Last weekend saw the painting of the utility room, its architrave and skirting installed and the laminate floor installed. Lighting in both rooms (Utility and Studio) is now on too. Photos to follow once I can find a camera :)

Friday, December 08, 2006

Plastering

Weds 6th December saw the plastering started and completed in one day. Photographs to follow.... It is hoped to get at least the Utility area painted and its floor laid this weekend.

Tuesday, November 28, 2006

Sunday, November 26, 2006

Plasterboard complete


The plasterboarding is now complete and the plasterer is booked for Tuesday December 5th. All that needs to be done before this is for the internal window boards to be fitted and for some odd gaps in the plasterboard to be filled with caulk.

Thursday, November 23, 2006

Internal Doors

As previously posted, it had been decided to construct the internal acoustic doors from MDF. However, it has now been discovered that a local company stock 686 wide Fire Rated doors, 44mm thick for just £32 inc. VAT. These are much denser and thicker than standard hollow core internal doors, so it has been decided to opt for these. At first, these doors will be installed as they are, but if they do not perform as well as expected, they will be uprated by applying a layer of T60 High Performance Acoustic Membrane onto one side, together with a layer of 25mm duct foam - thanks to www.customaudiodesigns.co.uk for this useful information. The T60 is stated to increase the SRI by upto 25.2dB, so a double door arrangement made from these products should perform extremely well.

Monday, November 20, 2006

Plasterboarding almost complete

Last weekend (18/19th November) saw the plasterboarding almost completed with the exception of the ceiling. The double stud / double door way partition between the studio space and utility room has had four layers (two layers either side) installed. At this time however, whether to double board the whole studio cannot be decided upon for definite as it is unclear as to whether the two fairly large windows would defeat the object of double boarding throughout. Isolation between the Utility and Studio is important, however, isolation from the outside, given the fact that the garage is detached, is not as important. It may be that just the walls around the vocal booth will be double boarded. Photos to follow......

Wednesday, November 15, 2006

Plasterboarding


The Utility area (next to the main studio) is now completely plasterboarding with the exception of the ceiling. It is hoped that plasterboarding will be completed by the weekend of 25th November 2006. The second picture shows the two layers going on - this is on the double stud partition between the studio and Utility.

Thursday, November 09, 2006

Windows


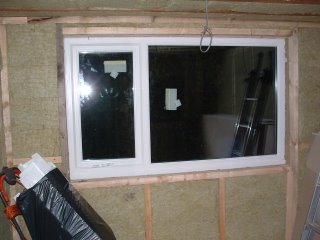
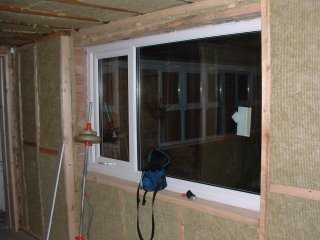
Hooray - the new windows have finally arrived, so these will be installed this coming Saturday. Pictures here show the windows successfully installed by my bro on Saturday 11th November.

Sunday, November 05, 2006

Alarm System

Today the first fix wiring for the studio alarm system was installed.

Quick Update

The new consumer unit with its 6mms armoured supply from the house is now in and new electrics are partly running. The old electrics have been removed also.

The utility now has a proper vent for the tumble dryer which was achieved by using a 107mm diamond core drill.

Plasterboarding will now commence next weekend (11th November).

Still awaiting the new windows too.
Thursday, October 26, 2006

Tuesday, October 24, 2006

Acoustic Mineral Wool Arrives


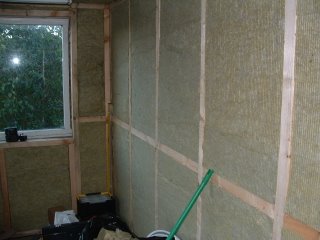
Today saw the delivery of 10 packs (150KG) of RS60 Acoustic Mineral Wool. A small amount was also installed into the end wall and the front of the vocal booth - see photos attached.

Sunday, October 22, 2006

Update - insulation and electrics


The walls are all now completed apart from a small section where the new consumer unit is going to be positioned. The first fix electrics for both the sockets in the Utility and the lighting throughout has been completed; supply cables for the sockets in the studio have also been installed ready for the dado trunking once plastering has been done. Insulation in the Utility has almost been completed too. Next step will be to install the 75 deep Acoustic Mineral Wool in the studio and vocal booth and once this has been done it will be on to the new windows and alarm system.

Wednesday, October 11, 2006

Useful article


A useful article was discovered today covering building design for a studio. http://www.qwyatt.com/myths.html

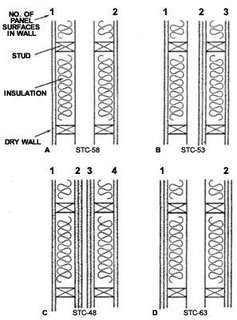
One point that really stands out is related to the sound reduction capabilities of a double stud partition (just like the one I am building between the studio and utility room). It is interesting to note that adding additional layers of plasterboard to the inside walls actually reduces the effectiveness. Two layers on each outer face, together with a cavity between is suggested to be the best method to go for; exactly what I am installing in the garage studio!

Monday, October 09, 2006

Photos


Here are some photos of the vocal booth and OSB board across the old garage door opening. The vocal booth photographs clearly show the non parallel front and back walls.

Sunday, October 08, 2006

Acoustic Doors


Originally it was intended to buy off the shelf, standard internal doors for the three doors in the studio. However, it has now been decided to make them. The picture above shows the intended design based around a softwood planed frame with 12 deep MDF on either side (which has a nice finish for painting), and 25 deep AMW sandwiched between. This design will be cheap to make (a pack of 25 AMW sufficient to build all three doors is only £36, and the wood will be low cost too) and will easily out perform a standard hollow internal door. The double door system, with its cavity in between the two, separate studding both isolated from the floor and from each other via the neoprene strips and threshold seals, should create very good isolation. The typical isolation figure for a standard hollow door is a mere 15dB, so this system should be far far better than this.

***ADDENDUM - Due to the weight of 12mm MDF, it has been decided to change to 6mm instead. This has the advantage of being cheaper too. ***

Update...

Photos to follow once batteries for the camera are purchased. Today, the three internal door linings were purchased to create the 686 wide door frames and the one for the vocal booth was installed. Also, the garage door opening was boarded up using 12 deep OSB Board fixed to the inside of the brick frame using 100 long hammer fixings. It is then intended to leave a 50 cavity, the same as for the other brick walls, before building another 75 deep stud wall in front of this OSB.

Friday, October 06, 2006

Plans and update....


Today saw much progress made on the wall structures, including the Vocal Booth. Unfortunately, the batteries on my camera are flat, so pictures won't be available until later! However, here is post of the plans which were drawn a while ago.....

Wednesday, October 04, 2006

New audio kit to test

Very soon, new HD cameras (Sony Z1), Field Mixers (Sound Devices 302) and Flash Disc recorders (Marantz PMD660) are going to be purchased. Audio tests are going to be carried out and comparisons will be made between this new kit and the poor audio results of the older Sony VX2000 camera. The Sony Z1 has onboard XLR connectors, together with +48VDC Phantom Power, meaning that having to use XLR to 3.5mm mini jack connectors will soon be a thing of the past. As well as testing a microphone directly with the Z1 camera (Sennheiser MKH-416), tests will also be carried out with the Sound Devices 302 mixer used for the front end pre-amplification before the Z1 camera and with the Sound Devices 302 mixer and Marantz PMD-660 recorder. It will be interesting to hear the differences.....

Building of walls commences....


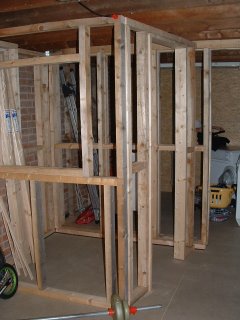
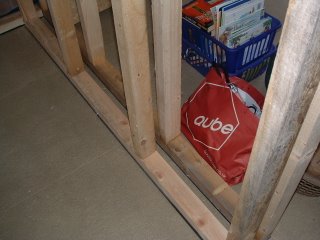
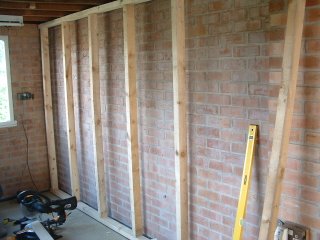
Wednesday 4th October saw the commencement of the internal studwork. The various photographs here show its construction. As can be seen, the 47 x 75 studding is sat on adhesive neoprene strips which effectively decouple the internal walls from the floor. Also, neoprene has been used wherever the header plate meets the extg. garage joists, to again, create isolation between the walls and ceiling construction. The wall between the studio space and new utility room has been doubled up, with a 50mm cavity between, and again sat on neoprene. Once these two walls are filled with Acoustic Mineral Wool, together with two layers of plasterboard, the isolation should hopefully be pretty good!

Friday, September 29, 2006

Update.....

The Electricians are in this weekend (30th September), therefore work cannot commence on the new internal wall structure until Wednesday 4th October. Details to follow......

Sunday, September 24, 2006

Friday, September 22, 2006

Update

A quick update - the two new uPVC windows have been ordered. The floor will be complete tomorrow (23rd September) and then the wood for the new inner studwork will be ordered ready for work to commence on 30th September.

Sunday, September 17, 2006

Day Three


Two thirds of the floor is now complete. It is hoped that the floor will be complete with one more day's work (Saturday 23rd September) and then the new inner wall studwork can commence.

Day Two


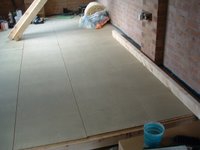
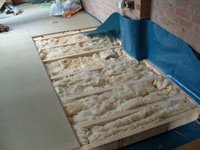
A third of the floor was completed today with 150 deep insulation being laid between the joists, centre supports fitted to increase rigidity and then 18 deep chipboard laid across.

Friday, September 15, 2006

Day One


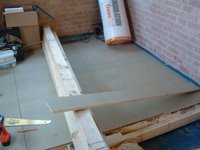
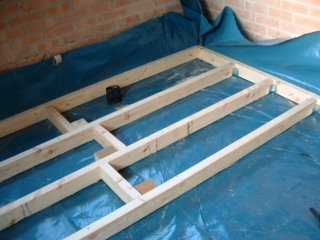
The DPM was laid down this afternoon, perimeter bearers bolted to the extg. garage wall to create the new level floor, and some joists were fitted.....

Monday, September 11, 2006

The conversion begins......


The garage was cleared at the weekend ready for building to commence. The first stage of the build is due to start on Friday 15th September with the installation of the DPM and new suspended floor structure follwed by insulation and new flooring grade chipboard. The design of the floor has changed from the original spec due to the fact that the extg. concrete floor is sloping somewhat from back to front. Therefore, it has been decided to level the floor using timber before building the new internal studwork off this. Pictures will follow......